





Fresh auto window tint can instantly improve comfort, privacy, and the appearance of your vehicle, but the first few days after installation are especially important. During this curing period, the film is still bonding to the glass, and small mistakes can affect clarity, adhesion, and long-term performance.
Knowing what to do, and what to avoid, helps protect your investment and keeps your tinted windows looking smooth, clean, and professional. With the right aftercare routine, your window film can provide lasting results through daily driving, changing weather, and regular cleaning.
What to Expect Right After Tint Installation
After your auto window tint is installed, it is normal for the film to look slightly hazy, cloudy, or uneven in certain areas. You may also notice small water pockets or a light milky appearance between the film and the glass. These effects are usually part of the drying process and do not necessarily mean there is a problem with the installation.
Window tint is applied using a mounting solution that helps position the film correctly on the glass. Once the film is in place, the remaining moisture needs time to evaporate. As the tint cures, the haze and small pockets typically fade, leaving the film clearer and more uniform.
How Long the Curing Process Usually Takes
The curing time for auto window tint can vary depending on the type of film, weather conditions, humidity, and how much sunlight your vehicle receives. In warm, dry weather, the tint may cure more quickly. In cooler or humid conditions, the process can take longer because trapped moisture evaporates more slowly.
It is important to be patient during this stage and avoid touching, pressing, or trying to smooth out the film yourself. Attempting to fix normal curing marks too early can damage the tint or interfere with the adhesive bond.
The First Few Days: Essential Aftercare Rules
The first few days after installation are the most critical for protecting your new window tint. During this period, the adhesive is still setting, so gentle handling is necessary. Even if the tint looks dry from the outside, the bond between the film and the glass may still be developing.
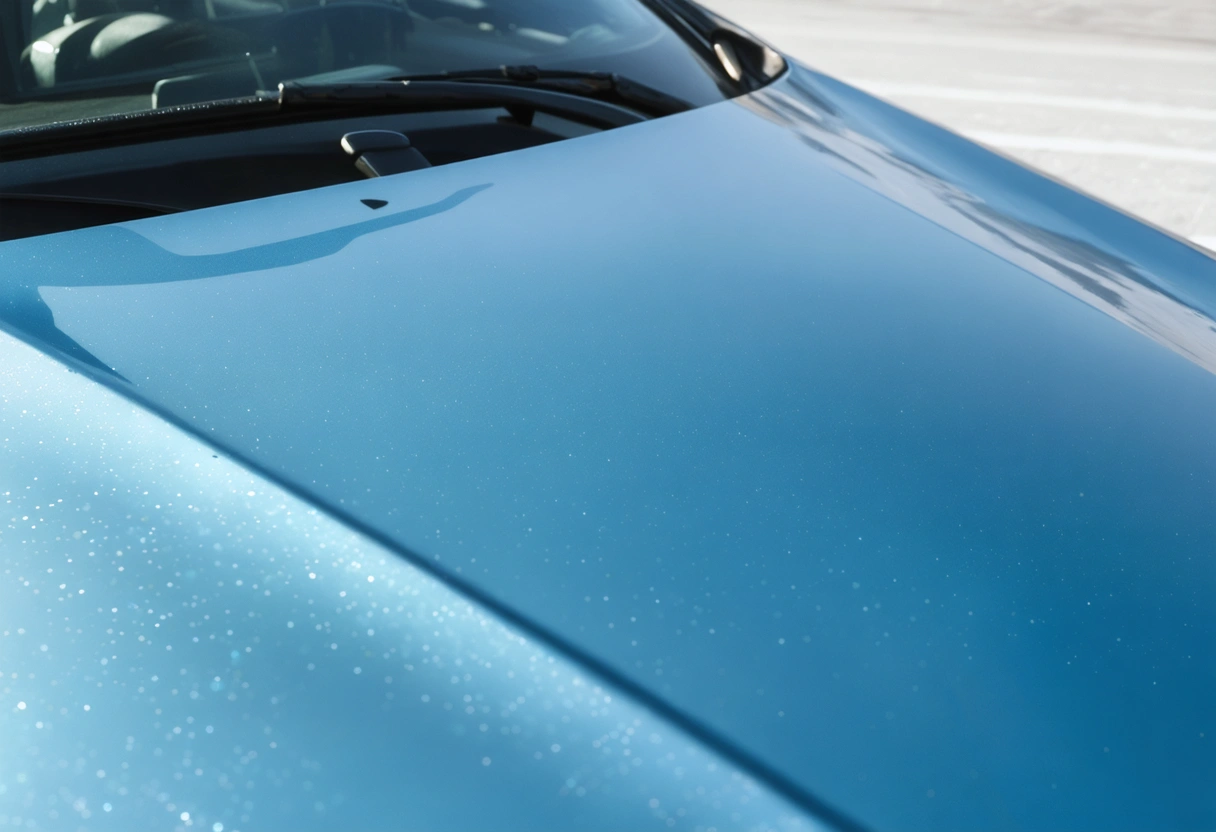
Following a few simple rules can help prevent peeling, bubbling, scratches, and edge damage. These early precautions are especially important for side windows, where movement, seals, and daily use can place extra stress on newly installed film.
Keep Your Windows Rolled Up
One of the most important aftercare steps is to keep your tinted windows rolled up for the amount of time recommended by your installer. Rolling windows down too soon can cause the film to shift, peel at the edges, or catch on the window seals before it has fully bonded.
This is especially important for driver and passenger windows, which are often used out of habit at drive-throughs, parking gates, or toll booths. If possible, remind other passengers not to lower the windows until the safe waiting period has passed.
Avoid Cleaning the Glass Too Soon
Newly installed window tint should not be cleaned immediately. Wiping the inside of the glass too early can disturb the film, create streaks, or damage the edges before the adhesive has properly cured. Even gentle pressure from a cloth may be enough to affect the finish during the first stage of drying.
Once the recommended waiting period is over, cleaning should be done carefully using tint-safe products and soft materials. Harsh cleaners, rough towels, and sharp tools should be avoided because they can shorten the life of the film and reduce its appearance over time.
How to Clean Tinted Windows Safely
After your tint has had enough time to cure, regular cleaning becomes an important part of long-term care. Clean windows not only look better, but they also help preserve visibility and prevent dirt, oils, and residue from building up along the film surface. The key is to use the right products and a gentle technique.
The inside surface of a tinted window is different from untreated glass because the film is exposed. That means the cleaning method should protect the film, adhesive, and edges while still removing fingerprints, dust, and smudges effectively.
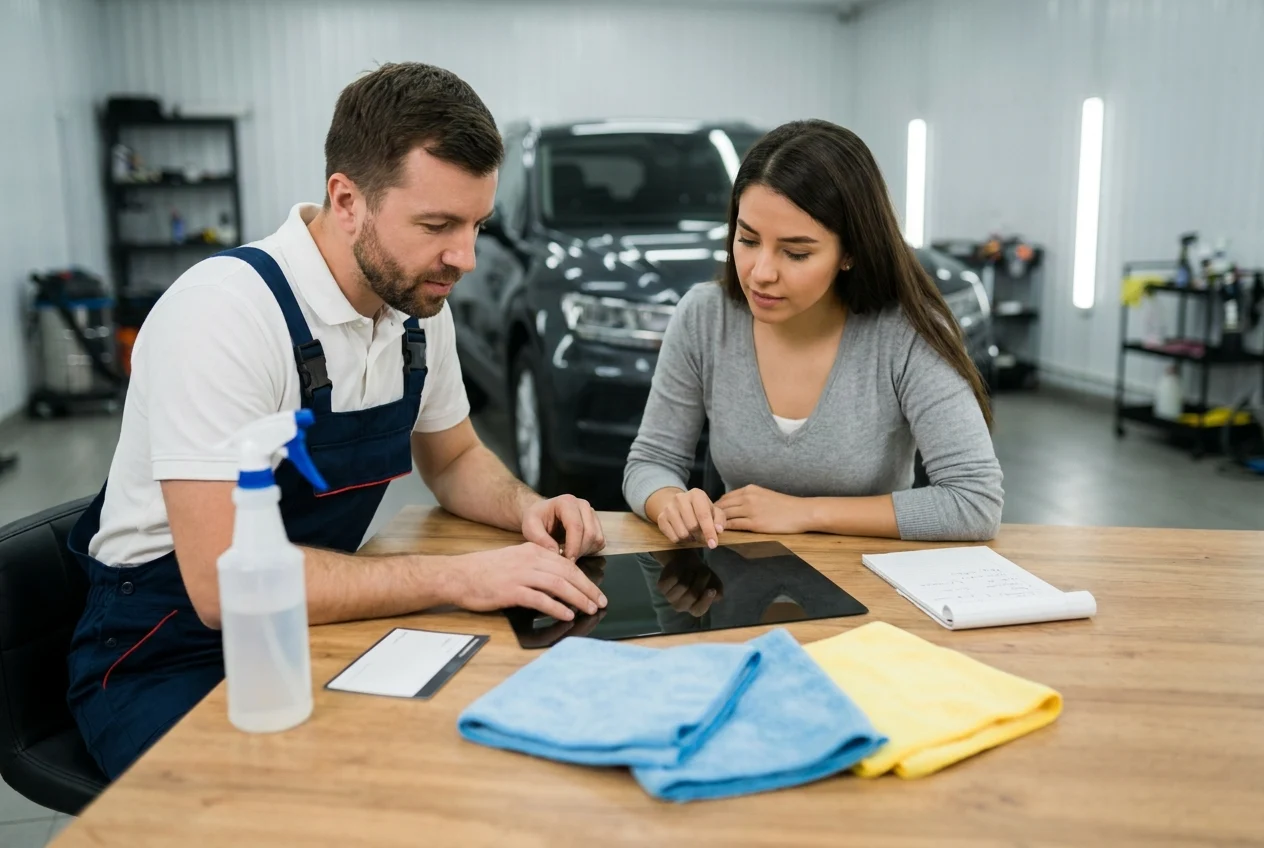
Use Ammonia-Free Glass Cleaner
Always choose an ammonia-free cleaner for tinted windows. Ammonia can be too harsh for many types of window film and may contribute to discoloration, drying, bubbling, or adhesive breakdown over time.
A tint-safe glass cleaner, mild soap mixed with water, or a cleaner specifically labeled safe for window film is usually a better choice. If you are unsure whether a product is appropriate, test it on a small corner first or ask your installer for a recommendation.
Choose Soft Microfiber Towels
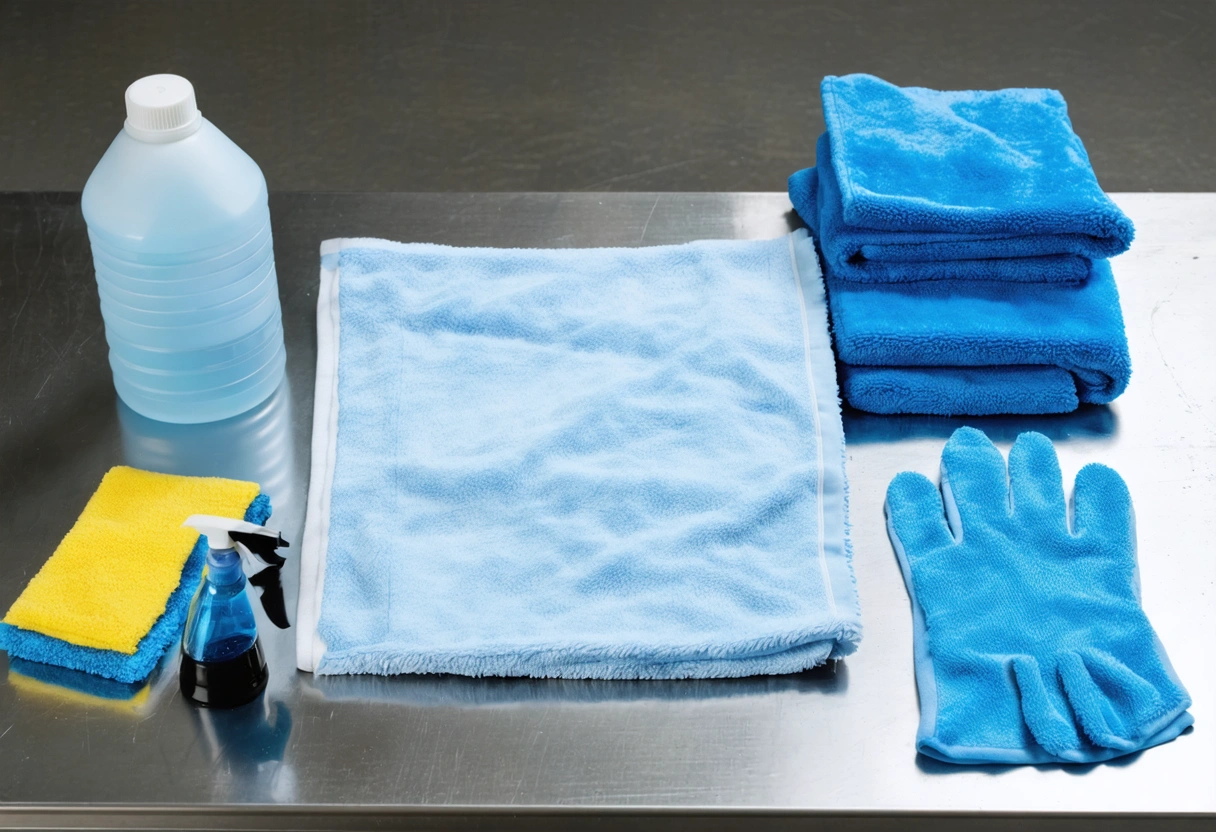
Use a clean microfiber towel when wiping tinted windows. Microfiber is soft enough to reduce the risk of scratching while still being effective at lifting dust and residue.
It is also a good idea to keep a separate microfiber towel just for interior glass. Towels used for wheels, paint polish, or exterior grime can carry particles that may scratch the tint.
Spray the Towel Instead of the Window
When cleaning the inside of tinted glass, spray the cleaner onto the towel rather than directly onto the window. This helps prevent excess liquid from running down into the edges, door panels, or seals.
Wipe gently using light pressure and smooth motions. If there are stubborn smudges, allow the damp towel to soften the residue briefly instead of scrubbing aggressively.
What to Avoid After Window Tint Installation
Long-lasting tint depends just as much on avoiding damage as it does on regular maintenance. Many common habits can shorten the life of window film, especially during the first few weeks after installation.
Some damage happens gradually and may not be obvious right away. Small scratches, lifted corners, and weakened adhesive can become more noticeable over time, especially when exposed to sun, heat, and daily window movement.
Do Not Use Sharp Objects Near the Film
Sharp objects should never be used on the inside surface of tinted glass. Razors, scrapers, keys, utility blades, and metal tools can cut or gouge the film.
If you need to remove a sticker, suction cup mark, or stubborn residue from the inside of a tinted window, use a tint-safe cleaner and a soft cloth.
Avoid Abrasive Cleaning Products
Abrasive cleaners can dull or scratch the film surface. Products such as scouring powders, rough sponges, magic eraser style pads, and heavy-duty degreasers should be avoided on tinted windows.
Even if the tint appears durable, it should be treated as a finished surface rather than standard glass. Gentle cleaning is usually all that is needed for routine maintenance.
Be Careful With Seat Belts, Cargo, and Pets
Everyday use can create accidental contact with tinted windows. Seat belt buckles can swing into side glass, cargo can shift against rear windows, and pets may scratch the film with claws or press their noses against the surface.
When loading items into your vehicle, keep boxes, tools, sports equipment, and other hard objects away from tinted glass. If pets ride in the vehicle often, consider using a barrier, seat cover, or pet restraint to reduce contact with the windows.
Protecting Tint From Heat, Sun, and Weather
Auto window tint is designed to handle sunlight and changing temperatures, but proper care can still help extend its lifespan. Heat, ultraviolet exposure, humidity, and cold weather can all affect how quickly the film cures and how well it performs over the years.

Quality film is made for automotive use, but smart parking and maintenance habits can reduce unnecessary stress on the tint. This is especially helpful for vehicles that spend long hours outdoors.
Park in Shade When Possible
Parking in the shade can help reduce interior heat and limit prolonged sun exposure. While window tint is built to block a portion of heat and UV rays, constant exposure to intense sunlight can gradually affect many vehicle materials, including film, upholstery, plastics, and trim.
Using a garage, covered parking area, or shaded spot when available can help protect the tint and keep the cabin more comfortable. A windshield sunshade can also reduce heat buildup inside the vehicle, especially during hot weather.
Allow Extra Curing Time in Cold or Humid Weather
If your tint was installed during cooler or humid conditions, it may need more time to cure fully. Moisture trapped beneath the film evaporates more slowly when temperatures are low or the air is damp.
During this period, it is best to continue being gentle with the windows. Avoid rolling them down too soon, cleaning too aggressively, or assuming that normal curing marks are defects.
Use Defrosters With Care During Early Curing
Rear window defrosters are generally safe for properly installed automotive tint, but during the early curing period, it is wise to follow your installer’s instructions.
Once the tint is fully cured, normal defroster use should not be a problem. Still, avoid scraping the inside of the rear glass or placing hard objects against the defroster lines, since both the tint and the electrical elements can be damaged.
Recognizing Normal Curing Versus a Problem
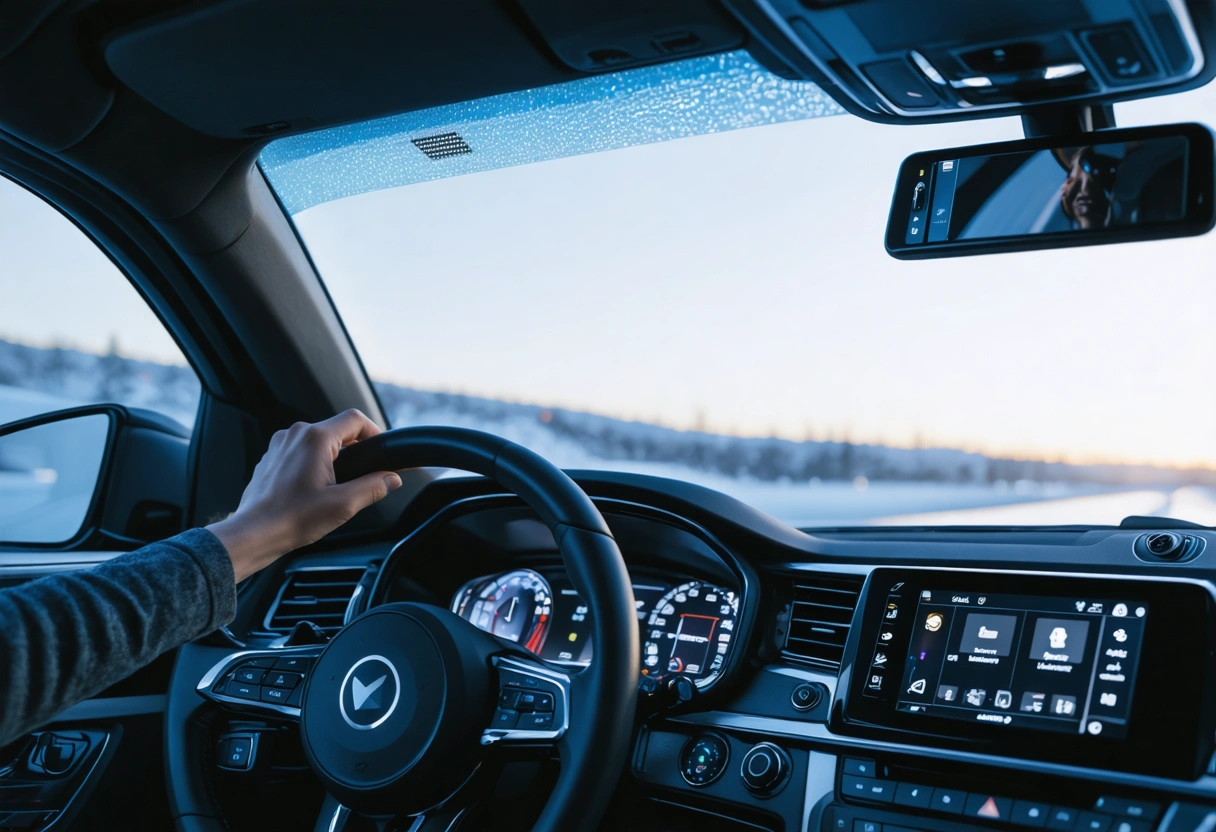
Because new tint can look imperfect while it cures, it helps to know the difference between normal drying effects and signs that may need professional attention.
However, certain issues may indicate contamination, lifting, poor adhesion, or damage. Knowing what to watch for can help you respond appropriately without making the issue worse.
Normal Signs During Curing
Light haze, small moisture pockets, and a slightly cloudy appearance are common after installation. These usually become less noticeable as the film dries and bonds to the glass.
Minor visual distortion can also occur while moisture is still present beneath the film. As the water evaporates, the tint should become clearer and more uniform.
Signs You Should Contact Your Installer
If you notice large bubbles that do not shrink, peeling edges, dirt or debris trapped under the film, scratches, creases, or areas that appear to be lifting from the glass, it is best to contact your installer.
Avoid pressing on bubbles, puncturing the film, or trying to reapply lifted edges yourself. Attempting a repair without the right tools and experience can make the damage worse and may affect any warranty coverage on the installation.
Need help with How to Care for Your Auto Window Tint After Installation for Long-Lasting Results?